

If you're looking for a way to get longer and fuller eyelashes without spending a lot of money on timely salon visits, then DIY eyelash extensions may be the perfect solution for you. With a few tools provided, you can achieve a beautiful lash look from the comfort of your own home.
Here are the steps to follow for DIY eyelash extensions:
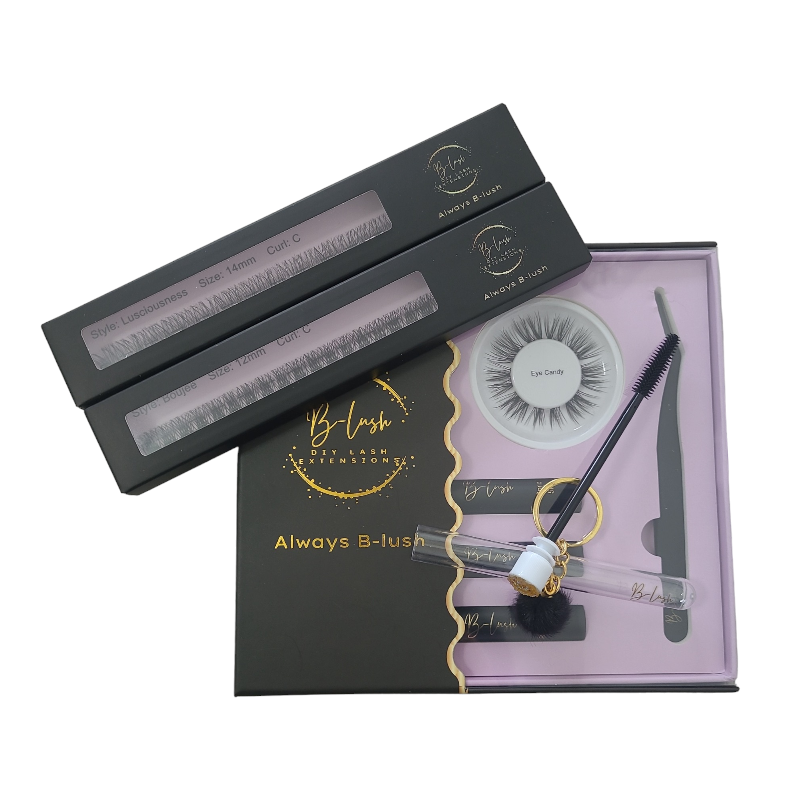
- Gather your tools and supplies:
- Individual lash extensions
- Lash bond
- Tweezers
- Lash sealant
- Mirror
- Choose the right lashes: Individual lashes come in different lengths and thicknesses. Choose the ones that best match your natural lashes. For a more natural look, go for a length that is no more than twice the length of your natural lashes.
- Prep your natural lashes: Before applying the extensions, make sure your natural lashes are clean and free of any makeup or oil. Use a lash comb to separate and comb through your lashes to ensure they are straight and untangled.
- Apply the Bond by adding a small amount to the end of the extension and also root of the natural lash. Then, using your tweezers, pick up an individual lash and place under the natural lash line and gently squeeze in place with the tweezers.
- Apply the lashes as many as needed for the desired look whether it be natural or Russian volume.
- Apply a good amount of sealant to the root of the lash extensions to lock the lash extensions in place and waterproof the lashes.
DIY eyelash extensions can be a fun and affordable way to enhance your natural lashes and boost confidence. With a little practice, you'll be able to achieve the perfect look every time.